

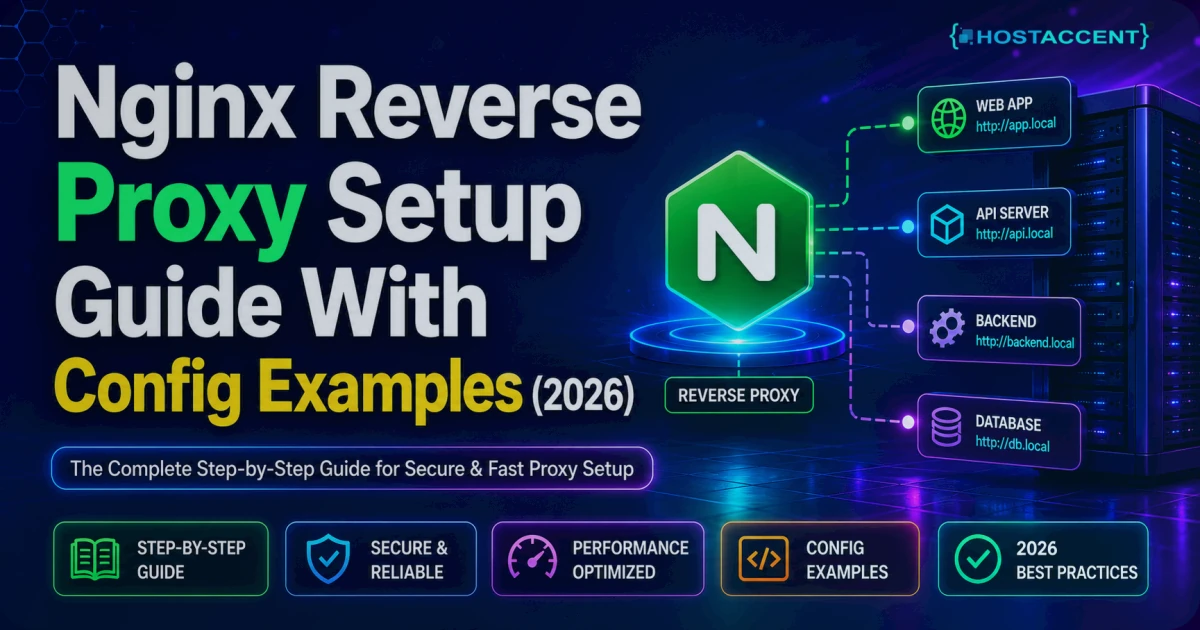
If you run a web application on a Linux VPS, you are already being probed. Login pages get hammered by credential-stuffing bots. Scrapers hit your catalog endpoints hundreds of times per minute. Occasionally, something more serious — a targeted flood — tries to exhaust your server's resources entirely.
Most VPS owners discover this when something goes wrong: the site goes slow, CPU spikes to 100%, or a user reports that checkout is broken. The right time to deal with it is before any of that happens.
Nginx rate limiting is not a complete DDoS mitigation solution. A large volumetric attack will overwhelm it along with everything else. What it does well is handle the low-to-medium abuse cases that account for the vast majority of real-world incidents — bot floods, credential stuffing, scraper abuse, and occasional misbehaving scripts.
This guide walks you through a practical rate limiting setup, how to tune it without locking out real users, and how to monitor its effect.
How Nginx rate limiting works
Nginx uses a "leaky bucket" model for rate limiting. Requests flow into a bucket at whatever rate they arrive. The bucket drains at a fixed rate — your configured limit. If requests arrive faster than the bucket drains, excess requests are either delayed (burst queue) or rejected (429 Too Many Requests).
The key configuration directives are:
limit_req_zone— defines the shared memory zone that tracks request rates per key (usually client IP)limit_req— applies the rate limit to specific locationsburst— allows short spikes above the rate before rejectingnodelay— processes burst requests immediately rather than queuing them
Step 1: Define your rate limiting zone
This goes in the http {} block of your main nginx.conf:
nginxlimit_req_zone $binary_remote_addr zone=site_limit:10m rate=15r/s;
Breaking this down:
$binary_remote_addr— the key is the client's IP address in binary format (more memory-efficient than text)zone=site_limit:10m— named zone calledsite_limit, using 10MB of shared memory (enough to track ~160,000 IP addresses simultaneously)rate=15r/s— allow up to 15 requests per second per IP
For a site with mostly human users, 15 requests per second per IP is generous — a real user browsing normally makes far fewer than this. Bots often exceed 100 requests per second from a single IP.
Start with a rate that is clearly above normal human usage to avoid false positives during initial deployment.
Step 2: Apply the rate limit to your site
In your server block or virtual host configuration:
nginxserver { listen 443 ssl; server_name yourdomain.com; location / { limit_req zone=site_limit burst=30 nodelay; limit_req_status 429; try_files $uri $uri/ /index.php?$query_string; } }
burst=30— allows up to 30 requests above the rate limit before rejection beginsnodelay— burst requests are served immediately, not queued with added latencylimit_req_status 429— returns HTTP 429 (Too Many Requests) instead of the default 503
Step 3: Apply stricter limits to login endpoints
Login pages deserve tighter limits. A rate of 5 requests per minute is appropriate for a login endpoint — a legitimate user never needs to submit login credentials more than a few times per minute.
Create a separate zone for login:
nginxlimit_req_zone $binary_remote_addr zone=login_limit:5m rate=1r/m;
Apply it to your login location:
nginx# WordPress example location = /wp-login.php { limit_req zone=login_limit burst=5 nodelay; limit_req_status 429; include fastcgi_params; fastcgi_pass unix:/run/php/php8.3-fpm.sock; fastcgi_param SCRIPT_FILENAME $document_root$fastcgi_script_name; } # Generic login endpoint location /login { limit_req zone=login_limit burst=5 nodelay; limit_req_status 429; proxy_pass http://your_app_backend; }
For WordPress, also consider applying carefully tested limits to xmlrpc.php; the WordPress security hardening guide explains where this control fits in the wider security baseline:
nginxlocation = /xmlrpc.php { limit_req zone=login_limit burst=2 nodelay; limit_req_status 429; include fastcgi_params; fastcgi_pass unix:/run/php/php8.3-fpm.sock; fastcgi_param SCRIPT_FILENAME $document_root$fastcgi_script_name; }
Step 4: Test and reload safely
Always test your configuration before reloading Nginx:
bashsudo nginx -t
If the test passes:
bashsudo systemctl reload nginx
reload applies the new configuration without dropping existing connections, unlike restart. Use it for configuration changes.
If nginx -t reports errors, review the output carefully — it will point you to the specific line and file with the problem.
Step 5: Monitor what is being rate limited
Watch Nginx's error log for rate limiting events:
bashsudo tail -f /var/log/nginx/error.log | grep "limiting requests"
You will see lines like:
bash2026/04/09 14:23:11 [error] 1234#0: *567 limiting requests, excess: 15.850 by zone "site_limit", client: 45.32.12.89
This tells you which IP is being rate limited and by how much it exceeded the limit. If you see a known-good IP being rate limited, your rate is too strict for that user's behavior. If you see nothing being limited, either your traffic is clean or your rate is set too high to catch anything.
Access log analysis is also useful:
bashsudo awk '{print $1}' /var/log/nginx/access.log | sort | uniq -c | sort -rn | head -20
This shows your top 20 IP addresses by request count. IPs with dramatically higher counts than others are candidates for tighter rate limiting or IP-level blocking.
Tuning for real users vs bots
The challenge with rate limiting is that the right settings depend on your traffic. Here are some patterns to look for:
If legitimate users are being rate limited: Lower your rate limit or increase your burst allowance. A user who clicks through your site quickly — especially on mobile with image-heavy pages — can trigger limits that seem reasonable on paper.
If bots are still getting through: Tighten the rate or reduce burst. Consider adding User-Agent based blocking for clearly identified bot patterns:
nginxmap $http_user_agent $bad_bot { default 0; ~*(scrapy|ahrefsbot|semrushbot|dotbot|mj12bot) 1; } server { if ($bad_bot) { return 403; } }
Note: if in Nginx server blocks can have unexpected behavior. This is a safe and common use case, but be aware of the caveat.
For API endpoints: APIs often have legitimate high-frequency clients. Apply rate limiting to API routes separately, with higher limits and API-key-based exemptions if your application supports it.
What rate limiting does not protect against
To avoid over-relying on Nginx rate limiting, understand its limits:
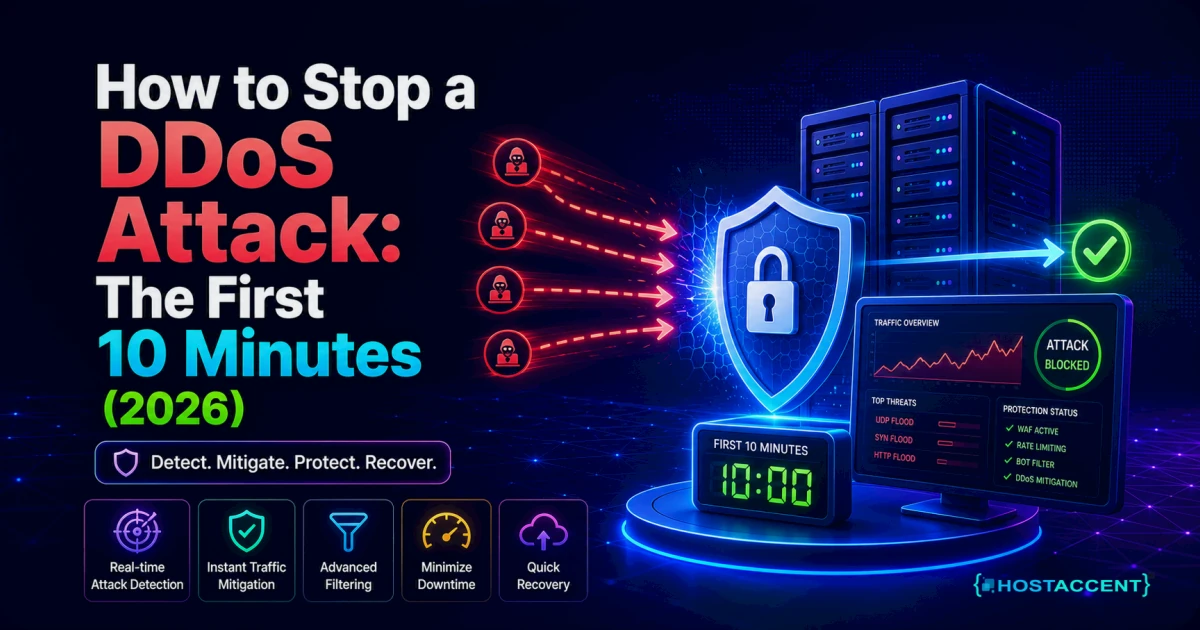
Volumetric DDoS attacks — a large packet flood can saturate the VPS network before Nginx can make a rate-limiting decision. For this, you need upstream protection from the hosting provider, a CDN or proxy service, or a specialist DDoS mitigation network. The Linux VPS buying checklist includes provider questions to ask before purchase. And if a flood is hitting you right now, follow the emergency guide on how to stop a DDoS attack in the first 10 minutes before tuning anything else.
Distributed attacks from many IPs — if an attacker uses a botnet spread across 10,000 IPs, each sending 5 requests per second, per-IP rate limiting helps very little. Behavioral analysis and challenge pages (Cloudflare's JS challenge, for example) are more effective here.
Application-layer vulnerabilities — rate limiting does not protect against SQL injection, XSS, or authentication bypass. These require application-level fixes and a Web Application Firewall (WAF).
Nginx rate limiting is one layer in a defense stack. For a VPS running production workloads, the stack typically includes: Nginx rate limiting, Fail2ban for persistent offenders, a WAF (either a module like ModSecurity or a service like Cloudflare), and your hosting provider's network-level DDoS mitigation.
A complete example configuration
Here is a clean reference configuration for a WordPress site on a VPS:
nginx# In http {} block (nginx.conf or conf.d/limits.conf) limit_req_zone $binary_remote_addr zone=site_limit:10m rate=15r/s; limit_req_zone $binary_remote_addr zone=login_limit:5m rate=1r/m; # In your server {} block server { listen 443 ssl; server_name yourdomain.com; # General rate limiting location / { limit_req zone=site_limit burst=30 nodelay; limit_req_status 429; try_files $uri $uri/ /index.php?$query_string; } # Tighter limits for login location = /wp-login.php { limit_req zone=login_limit burst=5 nodelay; limit_req_status 429; include fastcgi_params; fastcgi_pass unix:/run/php/php8.3-fpm.sock; fastcgi_param SCRIPT_FILENAME $document_root$fastcgi_script_name; } # Block xmlrpc.php (rarely needed legitimately) location = /xmlrpc.php { deny all; } # Block hidden files location ~ /\. { deny all; } }
Final recommendation
Deploy rate limiting before you have an incident, not as a response to one. Start with moderate limits, watch your logs for 24–48 hours, then tighten based on what you see.
The goal is a configuration that genuine users never notice and bots consistently hit. That balance is achievable with a bit of monitoring and iteration — and it makes your server meaningfully more stable under real-world traffic conditions.
HostAccent Cloud Hosting — scalable cloud infrastructure for growing businesses.


Discussion
Have a question or tip about this topic? Share it below — your comment will appear after review.