

Quick answer: The short version of how to flush DNS cache: on Windows, open Command Prompt as administrator and run ipconfig /flushdns. On macOS, open Terminal and run sudo dscacheutil -flushcache; sudo killall -HUP mDNSResponder. On most Linux systems, run sudo resolvectl flush-caches. In Chrome, open chrome://net-internals/#dns and click Clear host cache. Each takes under 30 seconds as of August 2026.
That is the whole fix for most people. But there is a reason this page exists in a dozen versions across the internet and readers still end up frustrated: flushing the cache on your laptop clears exactly one of at least four places a stale DNS record can hide. Our team resolves 20-30 client issues a day, and a steady share of them open with the same sentence: "I flushed my DNS and nothing changed." On stacks like Hostaccent's, that sentence almost always means the old record is parked somewhere the person never touched.
So this guide does both halves. First, the exact commands for every current version of Windows, macOS, Linux, Chrome, Edge, Firefox and Safari. Then the part the other guides skip: how to work out which layer is lying to you, and what to do when the honest answer is that no cache is at fault and the record itself is wrong.
What a DNS Cache Actually Stores (and Why Yours Goes Stale)
A DNS cache is a short-term address book. When you open a site, your device asks a resolver to translate the domain into an IP address, then stores that answer locally so the next visit skips the lookup. The answer is kept for as long as the record's TTL allows, commonly 300 seconds to 24 hours. That saves real time on every page load.
The trouble starts when the address changes and your address book does not know yet.
Your machine keeps caching the old IP until the TTL expires, so you sit there watching a site that moved three hours ago. If you want the mechanics behind the lookup itself, Cloudflare's explainer on what DNS is and how a recursive resolver works is the clearest free reference, and MDN's plain-English DNS definition is a good two-minute primer.
There are three things worth knowing that most guides gloss over.
Failures get cached too. If a lookup returns NXDOMAIN because a record did not exist yet, your resolver remembers that failure for a while. This is called negative caching, and it is why a brand new domain can keep throwing errors on your machine long after the record went live. Anyone who has hit the dns_probe_finished_nxdomain error after a fresh setup has met negative caching without knowing its name.
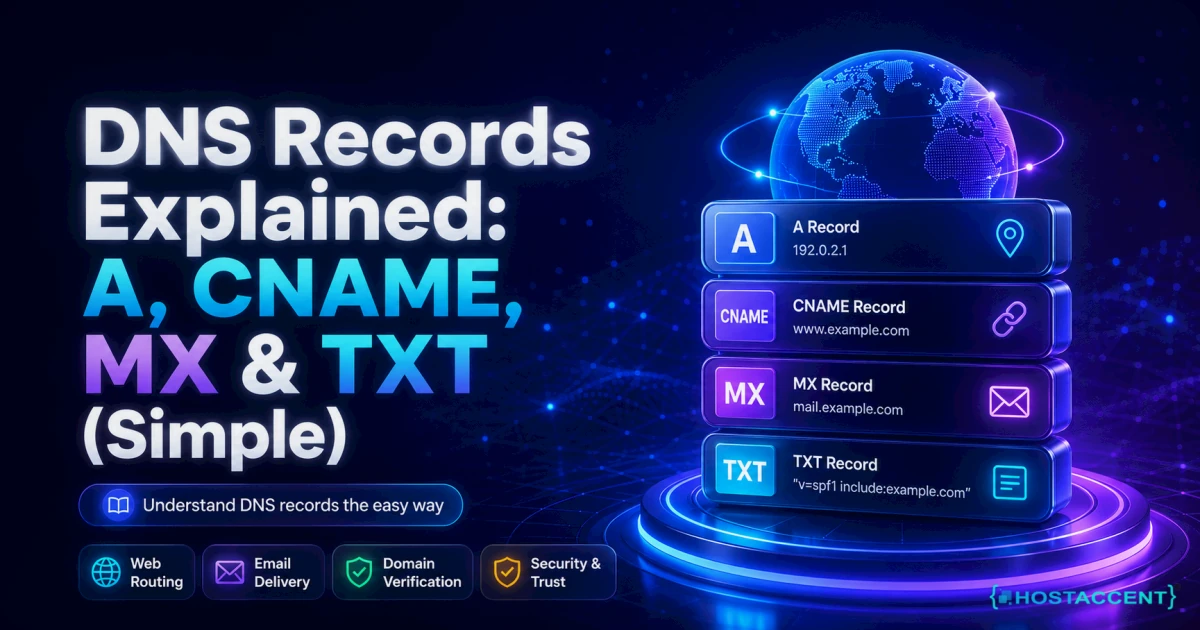
Every record type caches separately. An A record and an MX record for the same domain expire on their own schedules. That is why a site can come back up while email keeps bouncing for another hour. If the record types are fuzzy, our breakdown of DNS records explained: A, CNAME, MX and TXT covers them without the jargon.
Your device is not the only cache in the chain. The browser holds one. The operating system holds another. Your router very likely holds a third. And your ISP or public resolver holds a fourth, which you cannot reach with any command on your keyboard.
Keep that last point in mind. It is the whole reason the rest of this guide exists.
How to Flush DNS Cache on Windows 10 and 11
To flush DNS on Windows, open Command Prompt as an administrator and run ipconfig /flushdns. Windows confirms with a line reading "Successfully flushed the DNS Resolver Cache." The whole operation takes about 5 seconds and clears only the local resolver cache, leaving your IP address, network settings, saved passwords and browser data completely untouched.
Here are the steps in full.
- Press the Windows key, type
cmd, then right-click Command Prompt and choose Run as administrator. The admin step matters: a normal prompt will often refuse the command. - Type
ipconfig /flushdnsand press Enter. - Wait for the confirmation line. There is no progress bar because there is nothing slow happening.
PowerShell users get a cleaner equivalent: Clear-DnsClientCache. It does the same job with the same permissions.
Check what is actually cached before you clear it
This is the step almost nobody takes, and it turns guessing into diagnosis. Run ipconfig /displaydns and you get the full local cache, entry by entry. Pipe it through findstr to look for one domain:
bashipconfig /displaydns | findstr /i "yourdomain.com"
If your domain shows an old IP there, the local cache genuinely is your problem and the flush will fix it. If your domain does not appear at all, stop. Flushing will do nothing, and you have just saved yourself twenty minutes of pointless repetition. PowerShell offers the same view through Get-DnsClientCache.
Pro Tip: Windows 11 ships with DNS over HTTPS available in Settings under Network and internet, and encrypted DNS changes the picture. Traffic going out over DoH is resolved by whichever provider you configured, and clearing the local resolver cache does not reach into that provider's cache at all. If you enabled Secure DNS and results still look stale, treat it as a resolver-side problem, not a Windows problem.
One more thing worth checking on Windows before you blame DNS at all: the hosts file at C:\Windows\System32\drivers\etc\hosts. A leftover line in there overrides every DNS answer your system receives, permanently, and no amount of flushing will ever clear it. In our experience, a forgotten hosts entry from a migration test is one of the most common causes of "the flush did not work."
Clear DNS Cache on Mac: Every Version That Still Matters
To clear DNS cache on Mac, open Terminal and run sudo dscacheutil -flushcache; sudo killall -HUP mDNSResponder, then enter your administrator password. This single command covers macOS 26 Tahoe, 15 Sequoia, 14 Sonoma, 13 Ventura, 12 Monterey and 11 Big Sur. macOS prints no success message, so returning to a clean prompt with no error means it worked.
The command does two jobs at once. dscacheutil -flushcache clears the directory services cache, and killall -HUP mDNSResponder tells the resolver process to reload itself. Running only the first half is a classic half-fix, because mDNSResponder holds its own copy in memory.
Older machines need different syntax:
| macOS version | Command |
|---|---|
| Tahoe 26, Sequoia 15, Sonoma 14, Ventura 13, Monterey 12, Big Sur 11 | sudo dscacheutil -flushcache; sudo killall -HUP mDNSResponder |
| Catalina 10.15, Mojave 10.14, High Sierra 10.13, Sierra 10.12 | sudo killall -HUP mDNSResponder |
Not sure which version you are on? Apple menu, then About This Mac.
Two Mac-specific quirks catch people out constantly.
The password prompt shows nothing while you type. No dots, no asterisks, no cursor movement. That is normal Unix behaviour, not a frozen Terminal, and people retype it three times before giving up.
And the /etc/hosts file on macOS behaves exactly like its Windows cousin. Developers who point a .test or .local domain at 127.0.0.1 during a build, then forget the line exists, will chase a phantom DNS problem for hours. Check it with cat /etc/hosts before you flush anything.
To verify the flush actually took effect, ask the resolver directly:
bashdscacheutil -q host -a name yourdomain.com
or use dig yourdomain.com +short for the raw answer. If the new IP comes back there but your browser still loads the old site, the problem has moved one layer up, into the browser, which is the next section.
Flush the Browser Cache: Chrome, Edge, Firefox and Safari
Browsers keep their own DNS cache, entirely separate from the operating system. Clearing cookies and history does not touch it. In Chrome, open the Chrome net internals DNS page by pasting chrome://net-internals/#dns into the address bar and clicking Clear host cache. The change is instant, and the browser will resolve fresh on the next request.
Chrome is the one that trips people up most, because it caches aggressively and holds open connections on top of that. Clearing host cache alone sometimes changes nothing visible, because Chrome simply reuses a TCP connection it already had open to the old server. The second step fixes that: go to chrome://net-internals/#sockets and click Flush socket pools. Close the tab holding the affected site first, otherwise it may immediately open a new connection while you watch.
For the other browsers:
- Microsoft Edge:
edge://net-internals/#dns, then Clear host cache. Same engine, same page, different prefix. - Firefox:
about:networking#dns, then Clear DNS Cache. Firefox exposes its cached entries on the same screen, which is handy for checking before clearing. - Safari: enable the Develop menu in Settings under Advanced, then choose Develop, then Empty Caches. Safari leans harder on the system resolver than Chrome does, so the macOS Terminal command usually does most of the work already.
Insider Insight: If a site looks correct in a private window but wrong in your normal window, the browser layer is your culprit and you can skip every OS command. The reverse is also true and more useful: if a private window shows the same stale result, the browser is innocent and you should stop clicking around in it. That one test takes about 5 seconds and it is the fastest way to cut the problem in half.
One honest caveat here. Chrome and Firefox both support their own encrypted DNS settings, and when Secure DNS is enabled the browser resolves through a provider of its choosing rather than your system resolver. Clearing host cache still empties the browser's local copy, but the upstream provider's cache remains untouched, which brings us to the layers you cannot reach from your own machine.
Linux, Routers and Public Resolvers: The Layers Guides Skip
On modern Ubuntu, Debian and Fedora, run sudo resolvectl flush-caches, because systemd-resolved is what holds the cache. Older releases running systemd below version 239 use sudo systemd-resolve --flush-caches instead. Verify with resolvectl statistics and check that Current Cache Size reads 0. Plenty of Linux machines run no local resolver at all, in which case there is genuinely nothing on the box to flush.
Other Linux resolvers need their own treatment. If dnsmasq is running, sudo systemctl restart dnsmasq clears it, or send it a signal with sudo killall -HUP dnsmasq. On systems using nscd, sudo systemctl restart nscd does the job. Check what you actually have before firing commands: systemctl is-active systemd-resolved answers the question in one line.
Now the two layers nobody's step list includes.
Your router caches DNS. Most consumer routers and many business gateways run a small forwarder that answers for every device on the network. Your laptop can be spotlessly clean and still receive an old IP because the router hands it over. There is no universal command. Reboot it, or find the DNS section in its admin panel and clear or restart the service there. In our experience this is the single most overlooked cache in the chain, and rebooting a router takes about 2 minutes.
Public and ISP resolvers cache too, and you can purge some of them. This is the real information gap on this topic. Cloudflare's 1.1.1.1 caches entries for up to 3 hours, respecting shorter TTLs where they exist. If your visitors resolve through it, you can refresh a specific record yourself using Cloudflare's 1.1.1.1 purge cache tool. Google runs an equivalent at its Google Public DNS flush cache tool, and OpenDNS offers a cache refresh through its cachecheck page. Enter the domain, pick the record type, submit.
Pro Tip: After any migration, purge the record at 1.1.1.1 and Google Public DNS immediately. As of August 2026 those two resolvers serve an enormous share of consumer traffic, and this takes about 60 seconds per record. It will not fix everyone, since ISP resolvers have no public purge tool and simply expire on their own schedule, but it removes two of the biggest stale-answer sources before your customers start emailing you.
An ISP resolver you cannot purge is exactly why DNS propagation still takes 24 to 48 hours in the worst cases, and occasionally 72.
The Four-Layer Flush Order (and When Flushing Won't Help)
Work the layers in order and you will find the stale record in about 5 minutes instead of guessing for an hour. We call this the Four-Layer Flush Order, and it is the diagnostic our engineers run before touching anything: browser, then operating system, then router, then resolver. Test after each step rather than doing all four at once, because doing them together tells you nothing about which one was at fault.
- Browser. Open a private window. Correct result? The browser cache was the problem, so clear host cache and stop.
- Operating system. Run
dig yourdomain.com +shortornslookup yourdomain.com. Old IP? Flush with the command for your OS above. - Router. Test the same domain on mobile data with Wi-Fi disabled. If mobile is correct and Wi-Fi is wrong, your router is holding the old answer. Reboot it.
- Public resolver. Query a resolver directly:
dig @1.1.1.1 yourdomain.com +short. If the answer is stale there, use the purge tools from the previous section.
If all four layers return the new IP and the site is still wrong, no cache is at fault. The record itself is wrong, or the change never saved, or the nameservers were never updated. Flushing cannot fix a record that does not exist yet.
Do I actually need to flush DNS after changing nameservers?
Usually not on your own machine, and this is where most time gets wasted. According to Hostaccent's own support-queue data, WordPress issues make up roughly 30% of monthly tickets and SSL problems another 20%, and a striking number of both arrive described as a DNS fault when the real cause sits elsewhere. Across the 4,000+ sites Hostaccent has migrated since 2012, the step people most often get wrong is flushing repeatedly during the first hour, before the nameserver change has finished registering at the registry. Flushing at that point just re-fetches the same old answer faster. Make the change, verify it saved at the registrar, then flush once.
Three takeaways worth keeping:
- Flushing clears cached answers. It never repairs a wrong record, a broken nameserver or an unreachable server.
- Test between layers instead of flushing everything at once, or you will never learn which layer failed.
- Lower your TTL to 300 seconds a day before a planned migration. That single habit shrinks the stale window from hours to minutes, and it is free.
If your domain is registered in one place and pointed somewhere else, our guide on buying a domain without hosting covers how that split affects which control panel actually holds your records.
Your Next Step: A Host Where DNS Changes Actually Land
Now that you know how to flush DNS cache at every layer, the frustrating part is the bit you do not control: how quickly your host publishes the change in the first place. You can keep chasing stale answers by hand, or start on a stack where DNS is automated through the Cloudflare API and records go live in seconds across 15 datacenter locations. Hostaccent has launched 10,000+ sites since 2012, is UK-registered and incorporated in 2018, and backs shared plans with a 99.9% uptime guarantee and 30 days to change your mind. One honest limit: the entry tier is built for a single site, so agencies juggling client domains should start higher. If that fits, start on the Economy plan at $1.99/mo, which renews at $1.99/mo.
Frequently Asked Questions About Flushing DNS Cache
How to flush DNS cache on an iPhone or Android phone?
Neither system exposes a flush command. On iPhone, toggle Airplane Mode on and off, which resets the resolver in about 10 seconds. If that fails, go to Settings, General, Transfer or Reset iPhone, then Reset Network Settings, though this also clears saved Wi-Fi passwords. On Android, toggle Airplane Mode, or clear the Chrome app's cached data under Settings. Restarting the phone works on both platforms and is often quicker than hunting through menus.
Does flushing DNS actually make my internet faster?
No, and any guide promising otherwise is overselling it. Your connection speed depends on your ISP, your line and your hardware, none of which a flush touches. Flushing removes a roadblock rather than adding horsepower. It can make one particular site load correctly again, and clearing corrupt entries stops your device retrying dead addresses. Expect the very first lookup after a flush to be marginally slower, since the cache has to refill from scratch.
How often should I clear my DNS cache?
There is no schedule worth following. Flush when you have a reason: after changing DNS records, after a hosting migration, when a site you know is online refuses to load, or when you land on the wrong destination unexpectedly. Advice telling you to flush weekly is treating a diagnostic tool as maintenance. Your cache exists to speed up browsing, and emptying it on a timer just means slower first loads for no benefit.
Is flushing DNS safe, and will I lose passwords or bookmarks?
It is completely safe and reversible within seconds. The cache is a temporary lookup table, not stored data, and clearing it removes nothing you would miss. Your passwords, bookmarks, cookies, browsing history, network settings and IP address all survive untouched. The only measurable effect is that the next few page loads take a few extra milliseconds while the cache rebuilds. You can run the command as often as you like without any risk.
Why does my site still show the old server after I flushed everything?
Because you almost certainly did not flush everything. Your router keeps its own cache, and your ISP or public resolver keeps another that no local command can reach. Test the domain on mobile data: if it loads correctly there, your router is the culprit. Query dig @1.1.1.1 yourdomain.com +short to check a public resolver directly. And confirm the record actually changed, since flushing cannot fix a record that was never updated.
How long does DNS propagation take after changing nameservers?
Typically 24 to 48 hours, occasionally up to 72, though most visitors see the change far sooner. The delay is driven by TTL values and by resolvers worldwide expiring their cached copies on their own schedules. Before any planned migration, our team at Hostaccent lowers the TTL to 300 seconds a day in advance, which shrinks the stale window from hours to minutes. If you are still choosing a name, our comparison of .com vs .net vs .io covers extension choice.



Discussion
Have a question or tip about this topic? Share it below — your comment will appear after review.