
Written by our support engineers, a UK-registered host trading since 2012 and incorporated in 2018, serving customers worldwide. Updated August 2026.
Your visitor lands on the checkout page, sees "Not Secure" beside your domain, and closes the tab. That is what a missing certificate costs you, and it is why learning how to install SSL certificate on cPanel is worth the twenty minutes it takes. The good news: most of the work is three or four clicks, and on many shared plans it is already handled for you automatically.
This guide walks the whole path: free certificates through AutoSSL for people who just need the padlock, manual installation for anyone who bought a paid or wildcard certificate, and fixes for the most common outcome of all, when the certificate installs but the padlock still refuses to appear.
The part vendor pages skip: on a managed stack like Hostaccent's, AutoSSL runs on its own, so a lot of sites are secured before the owner ever opens the panel. We resolve 20 to 30 customer issues a day, and a steady share are SSL snags that look alarming and come down to one wrong box or one un-pointed DNS record. So the steps below are written the way we actually walk a customer through them.
Quick answer: To install an SSL certificate on cPanel, open the Security section. For a free certificate, go to SSL/TLS Status, tick your domain, and click Run AutoSSL. For a paid certificate, open SSL/TLS Certificates, paste your CRT, private key, and CA bundle, then click Install. As of 2026, a free AutoSSL certificate installs in about 1 to 15 minutes and renews itself.
What an SSL Certificate Does on cPanel (and Which One You Need)
An SSL certificate encrypts the connection between a visitor's browser and your server, turns http:// into https://, and puts the padlock in the address bar. Without it, browsers label your site "Not Secure" and search rankings quietly slip. As of 2026, industry data puts well over 95% of Chrome page loads on HTTPS, so a site without a certificate stands out for the wrong reasons.
There are three types worth knowing, and picking the right one saves you money.
Domain Validated (DV) is the everyday certificate. It proves you control the domain, encrypts everything, and it is what free AutoSSL and Let's Encrypt issue. For a blog, a brochure site, or most small shops, this is all you need.
Organization Validated (OV) and Extended Validation (EV) go further by verifying your registered business. They cost money and take longer to issue. They do not encrypt any harder than a DV cert. You are paying for identity assurance, not stronger security.
Wildcard certificates cover a domain and all its subdomains (shop, blog, mail, and so on) under one certificate written as *.yourdomain.com. If you run many subdomains, one wildcard is tidier than a dozen separate certs.
One myth worth killing: a free DV certificate is cryptographically identical to a paid DV certificate. Same TLS 1.3, same padlock, same protection. In the tickets we handle, a surprising number of small businesses have paid for a basic certificate that does the exact job the free one would have done for nothing.
So which do you choose? If you just need the padlock and HTTPS, use free AutoSSL. If you need to prove a legal business identity to customers, buy OV or EV. If you have a forest of subdomains, get a wildcard. Everything below covers both routes, plus what to do when the install looks right but the browser disagrees. If your errors trace back to Cloudflare instead of cPanel, our guide to Cloudflare Error 526 covers that specific handshake failure.
The Fast Path: Free SSL on cPanel with AutoSSL
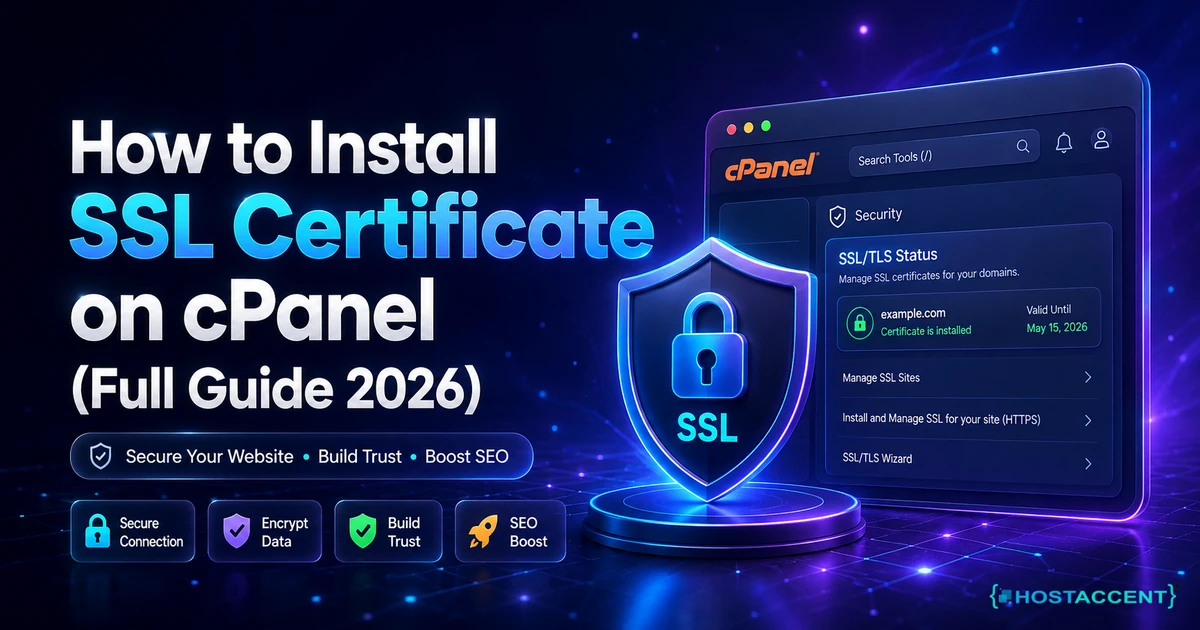
For most people, the fastest route to a padlock is cPanel AutoSSL, and it is free. AutoSSL requests a Domain Validated certificate from Let's Encrypt or Sectigo, installs it, and renews it automatically before it expires.
Here are the cPanel SSL installation steps for the free route:
- Log in to cPanel (usually at yourdomain.com:2083, or through your hosting dashboard).
- In the Security section, click SSL/TLS Status. On cPanel version 134 and newer, this lives under SSL/TLS Certificates as the Status tab.
- Tick the domain and any subdomains you want to secure.
- Click Run AutoSSL at the top.
- Wait. The check and install usually finish in 1 to 15 minutes, and a green padlock icon appears next to each secured domain.
That is the whole job. No CSR, no files to paste, no yearly renewal to remember. A free AutoSSL certificate is valid for 90 days and renews itself roughly two weeks before expiry, so once it works you can forget about it.
There is one hard requirement: your domain's DNS must already point to the server that hosts the site. Let's Encrypt runs an HTTP or DNS check before it issues, so if the domain still points at an old host, or sits behind a proxy that blocks the validation path, AutoSSL fails.
Pro Tip: If Run AutoSSL returns a failure, read the error text before doing anything else. Nine times out of ten it says the domain is not pointing to this server, which means a DNS record still needs updating, not that the certificate is broken.
According to Hostaccent's support-queue data (2026), SSL problems make up about 20% of the tickets we handle each month, and the large majority of AutoSSL failures trace straight back to DNS that has not fully propagated. Give a new domain up to 24 to 48 hours after pointing it, then run AutoSSL again.
Do I actually need to do this myself?
Often, no. On a managed shared plan, AutoSSL runs on a daily schedule and secures new domains without you touching the panel. The manual run above is for when you want to force it immediately or a specific domain got skipped. If your host does not switch AutoSSL on by default, that is worth knowing before you sign up, and our domain and hosting buying guide covers what else to check.
How to Install SSL Certificate on cPanel Manually (Paid and Wildcard)
If you bought a certificate, you install it by hand. The manual route has two stages: generate a CSR so the certificate authority can issue your cert, then upload the issued files into cPanel. This is also how to install SSL certificate on cPanel when the certificate came from an outside provider.
Step 1: Generate a CSR in cPanel
A Certificate Signing Request (CSR) is a small encoded block that carries your domain and organization details, and it creates a matching private key on the server.
- In the Security section, open SSL/TLS (or SSL/TLS Certificates on newer cPanel).
- Click "Generate, view, upload, or delete SSL certificates," or on newer versions, the Create a Certificate Signing Request option.
- Choose the domain, set the key size to 2048-bit RSA (or 256-bit ECDSA), and fill in the country, company, and email fields.
- Click Generate. Copy the CSR block and hand it to your certificate authority when you buy or reissue the cert.
Keep the private key where cPanel stored it. If you generate the CSR somewhere else and lose the key, the certificate will not install, and you will have to reissue.
Step 2: Upload the certificate, key, and CA bundle
Once the authority emails your files, you are ready to upload your SSL certificate in cPanel.
- Go to SSL/TLS, then "Manage SSL Sites" under Install and Manage SSL for your site (HTTPS). On cPanel 134+, this is the Installation tab under SSL/TLS Certificates.
- Select your domain from the dropdown and click Autofill by Certificate. cPanel tries to pull the matching certificate and private key for you.
- If it does not autofill, paste the three pieces by hand: the certificate (CRT) in the Certificate box, the matching private key (KEY) in the Private Key box, and the intermediate chain in the Certificate Authority Bundle (CABUNDLE) box.
- Include the full BEGIN and END header and footer lines for each block, then click Install Certificate.
That final CA bundle box is the one people skip, and skipping it is why a certificate looks fine on desktop Chrome but throws warnings on phones and older browsers. The bundle completes the trust chain.
Insider Insight: When you install a paid SSL on cPanel, paste each block into a plain text editor first to strip hidden characters. A single stray space copied out of an email is the most common reason the Install button rejects an otherwise valid certificate.
Uploading these files over FTP instead of pasting can trip an authentication error of its own; if that happens, our fix for the FTP 530 login error sorts it out. For the exact field names cPanel uses in each version, the official cPanel documentation is the reference to keep open.
Force HTTPS and Stop the "Mixed Content" Warning
Installing the certificate is half the job. Until you force HTTPS, visitors can still reach the plain http:// version, and any page that loads a single http:// asset shows "Not fully secure" instead of the padlock. That mismatch is called mixed content.
First, redirect all traffic to HTTPS. Newer cPanel builds have a Force HTTPS Redirect toggle in the Domains area; flip it on and you are done. If yours does not, add a rule to the .htaccess file in your site's root:
bashRewriteEngine On RewriteCond %{HTTPS} off RewriteRule ^(.*)$ https://%{HTTP_HOST}%{REQUEST_URI} [L,R=301]
The 301 tells search engines the move is permanent, so you keep your rankings.
Second, hunt down mixed content. Open the page, press F12 for the browser console, and look for warnings naming an http:// resource: an image, a stylesheet, a font, an old script. Each one needs its URL changed to https://. On WordPress, most of these vanish once you set both the WordPress Address and Site Address to the https version under Settings, then run a search-and-replace on the database for old http:// links.
Pro Tip: After you switch on HTTPS, purge every cache: the browser, any caching plugin, and your CDN or edge cache. We have watched more than one "the padlock still is not showing" ticket resolve the instant a stale cached copy of the http page was cleared.
Why does this matter beyond looks? A page served half over http and half over https leaks exactly the data the certificate was meant to protect, and browsers are getting stricter about blocking it outright. Google has treated HTTPS as a ranking signal for years, so a clean redirect is an SEO win as well as a security one. The full reasoning is laid out in Google's web.dev guide to HTTPS.
Get the redirect and the asset URLs right, and the "Not Secure" label is gone for good. Leave one http:// image in a widget, and it will haunt you across the whole site.
Why the Padlock Still Won't Show: The 3-Box Check
When a certificate installs cleanly but the padlock refuses to appear, the cause is almost always one of three fields not matching. Our support team runs the same quick diagnostic every time, and it is worth stealing. Call it the 3-Box Check.
The three boxes are the Certificate (CRT), the Private Key (KEY), and the CA Bundle (CABUNDLE). All three have to be present and belong to each other:
- Box one, the CRT. Is it the certificate for this exact domain, and not an expired one still sitting in the store? Old certificates left in place block new ones. Delete expired entries first, then reinstall.
- Box two, the KEY. Does the private key match the certificate? A key only matches the CSR it was born with. If you regenerated the CSR after buying, or installed on a different server, the pair no longer fits and cPanel refuses the install.
- Box three, the CA Bundle. Is the intermediate chain present? A missing bundle is why a site works on your laptop but shows an untrusted warning on a phone.
Roughly three in four SSL installs that reach our queue come down to one of those three boxes. Fix the mismatch, and the padlock appears.
Then there are the causes that live outside cPanel entirely:
- DNS is not pointing at this server, so the certificate is installed on a box the visitor never reaches.
- A CDN or proxy in front of the site is serving its own certificate. If you use Cloudflare, set the SSL mode to Full (strict) so the edge trusts your origin certificate.
- Browser or server cache is showing an old version. Purge both.
Insider Insight: Test in an incognito window before you panic. Regular windows cache the old "Not Secure" state aggressively, and half the "it is still broken" reports we see are really a browser showing yesterday's page. If you keep hitting a hard block, our note on the 403 Forbidden error covers a permission cause that sometimes masquerades as an SSL fault.
Work the three boxes, then the three external causes, in that order. It is faster than guessing, and it is the same order we use on live servers.
Verifying and Renewing Your Certificate
Do not trust the padlock alone. Confirm the install properly and set yourself up so the certificate never lapses.
To verify, load your site over https:// and click the padlock to view the certificate: check that it names your domain, shows a valid date range, and lists a real certificate authority. For a deeper look, an online SSL checker reports whether the chain is complete and flags a missing CA bundle before your visitors do. A correctly installed certificate should show TLS 1.2 or TLS 1.3 and no chain warnings.
Renewal splits sharply by type.
Free AutoSSL and Let's Encrypt certificates renew themselves. The 90-day validity sounds short, but cPanel reissues automatically about two weeks before expiry, provided your DNS still points to the server. You do nothing.
Paid certificates do not renew on their own. When the term ends (certificate authorities now cap new certs at about 397 days, and the industry is moving toward much shorter lifetimes), you buy again, reissue, and repeat the manual upload from earlier. Miss it, and the site throws an expiry warning to every visitor overnight.
Across the 10,000+ sites Hostaccent has launched since 2012, the certificates that lapse are almost always paid ones nobody set a reminder for. So the single most useful thing you can do after installing a paid cert is add a calendar alert two weeks before its expiry date.
Pro Tip: Keep the private key and CSR from the original install saved somewhere safe. When renewal time comes, reissuing with the same key pair is faster and avoids the mismatch that sends people back to the 3-Box Check.
One more habit worth building: keep real backups. A certificate protects data in transit, but it does nothing for a corrupted database or a bad deploy. If you are hardening a server yourself rather than on shared hosting, our Linux VPS security baseline for Ubuntu walks through the wider lockdown, of which SSL is just one layer. Security is a stack, and the certificate is only the front door.
Your Next Step: A Site That Loads With the Padlock, Not the Warning
Now that you know how to install SSL certificate on cPanel, and what to check when the padlock stalls, the last question is where you run it. You can wire up a server, buy a panel licence, and tune AutoSSL yourself this weekend, or start on a plan where the panel and free auto-renewing certificates are already set up. The Economy shared hosting plan at $1.99/mo includes cPanel, NVMe SSD storage, free SSL, and a 99.9% uptime guarantee, and real engineers answer when something breaks. One honest caveat: it is built for a single busy site, so if you are juggling several client projects, Standard fits better. Every plan carries a 30-day money-back guarantee, and with Hostaccent the price you sign up at is the price you renew at.
Frequently Asked Questions About Installing SSL on cPanel
How do I install a free SSL certificate on cPanel?
Open cPanel, find the Security section, and click SSL/TLS Status. Tick the domain you want to secure and press Run AutoSSL. cPanel requests a free Domain Validated certificate from Let's Encrypt or Sectigo and installs it in roughly 1 to 15 minutes. The only requirement is that your domain's DNS already points to the server hosting the site. Once the green padlock appears, the certificate renews itself before it expires, with no yearly bill.
How to Install SSL Certificate on cPanel Without Losing Uptime?
Installing a certificate does not take your site offline. AutoSSL activates in the background while pages keep serving, and a manual install only swaps the certificate the moment you click Install Certificate, with no restart the visitor notices. The one thing that can cause a brief scare is forcing HTTPS before the certificate is live, which throws warnings. So install and confirm the padlock first, then switch on the redirect. Done in that order, downtime is effectively zero.
Why does my site still say "Not Secure" after I installed the certificate?
Almost always mixed content or caching. Your certificate is fine, but the page still loads at least one asset (an image, script, or font) over plain http://, so the browser withholds the padlock. Open the browser console, find the http:// resource, and update it to https://. If the page looks clean, clear your browser cache and any CDN or edge cache. On WordPress, set the Site URL to https and run a search-replace on old http links.
Do I need to generate a CSR for AutoSSL?
No. A Certificate Signing Request is only needed when you buy a paid or wildcard certificate, because the certificate authority uses it to issue the cert tied to your private key. Free AutoSSL handles the entire key and validation process automatically, so there is nothing to generate or paste. You only touch CSRs and the manual upload boxes when you have purchased a certificate from an outside provider and need to install it yourself.
Does a cPanel SSL certificate renew automatically?
It depends on the type. Free AutoSSL and Let's Encrypt certificates renew on their own, usually a couple of weeks before the 90-day expiry, as long as your DNS still points to the server. On Hostaccent's shared plans, that renewal runs daily without anyone lifting a finger. Paid certificates are the trap: they do not auto-renew, so you must buy, re-issue, and re-upload them each cycle. Set a calendar reminder two weeks before the expiry date.
Is a free SSL certificate as secure as a paid one?
For encryption, yes. A free Domain Validated certificate uses the same modern TLS 1.3 encryption and the same padlock as a paid DV certificate, so visitor data is protected identically. What you pay extra for is validation and warranty: Organization or Extended Validation certificates verify your business identity, and some carry a financial warranty. For a blog, portfolio, or most small shops, free AutoSSL is genuinely all you need. Skip the upsell unless you specifically need OV or EV.

Discussion
Have a question or tip about this topic? Share it below — your comment will appear after review.