
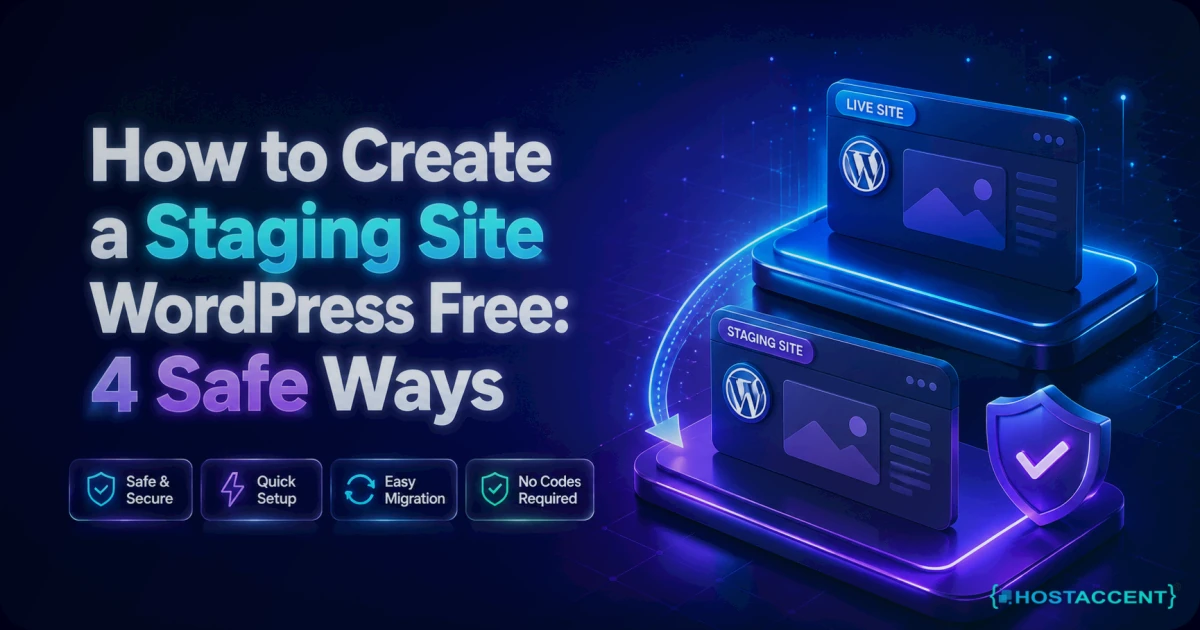
A plugin update that looked routine takes down your checkout page at 9pm on a Friday. Nothing in the changelog warned you. Nothing in the dashboard flagged a conflict. The site simply stopped taking money, and you find out from a customer email.
That is the exact problem staging solves, and it is why knowing how to create a staging site WordPress can safely push changes back from matters more than any speed tweak you will ever apply.
Quick answer (as of August 2026): A WordPress staging site is a private clone of your live site, running on its own files and database, used for testing. You can build one free three ways: through your host's control panel (roughly 2 minutes), with a free plugin such as WP Staging or Duplicator (5 to 15 minutes), or by copying the site to a subdomain manually (about 30 minutes).
On stacks like Hostaccent's, where Nginx sits in front of Apache and every account gets its own PHP-FPM pool, a staging copy behaves almost identically to production. That similarity is what makes the test worth trusting. Our team resolves 20 to 30 client issues a day, and a painful share of the WordPress emergencies that reach us began life as an untested update on a live site. This guide comes straight out of that queue.
What a WordPress Staging Site Actually Does (and What It Does Not)
A WordPress staging environment is a working duplicate of your production site that visitors and search engines cannot reach. It has its own database, its own copy of your themes and plugins, and its own URL, usually a subdomain or a protected subdirectory. You break things there. Production keeps serving customers. Most modern hosting panels can create one in under 2 minutes.
To use it well, you need to understand how WordPress splits your site in two. Your files hold themes, plugins, core code and uploaded media. Your database holds posts, pages, users, orders, comments, plugin settings and options. Design and code changes almost always live in files. Day-to-day activity almost always lives in the database. That split decides everything about how you push changes back later, so hold onto it.
Three things a staging site is not:
- Not a backup. A clone made on Tuesday is a snapshot of Tuesday. It drifts further from reality every hour, and it has no restore mechanism. Keep real backups running separately.
- Not a local development environment. Tools that run WordPress on your laptop are useful, but they run a different PHP build, a different web server and none of your host's caching or firewall rules. Plenty of bugs only appear on the actual server. The official WordPress documentation is worth reading alongside whichever route you choose.
- Not permanent. A staging copy that has sat untouched for four months is worse than useless, because you will test against settings production abandoned long ago.
The whole point is to test changes without breaking live site pages that customers are sitting on right now. Update PHP to 8.3 there first. Try the new theme there first. Deactivate that suspicious plugin there first.
Do I really need staging for a small blog?
Honest answer: if your site takes money, bookings or leads, yes, every time. If it is a six-page brochure site that changes twice a year, you can survive on a fresh backup plus an off-peak update window. What you should not do is the middle path most people pick, which is updating live at lunchtime and hoping.
Pro Tip: Clone before you troubleshoot, not after. When a site is already misbehaving, cloning it gives you a safe copy to experiment on while production stays exactly as it is, which keeps your rollback option intact.
How to Create a Staging Site WordPress Hosts Build in One Click
If your hosting panel offers staging, use it. This is the fastest route by a wide margin: roughly 2 minutes of clicking versus 30 minutes of manual copying, and the panel handles the database rewrite that trips most people up. In cPanel this lives in WP Toolkit. On Plesk it is the same tool under a different skin.
The cPanel WordPress staging flow looks like this:
- Log into cPanel and open WP Toolkit under the Software section.
- Select the installation you want to duplicate.
- Open the Staging tab and click Create Staging Copy.
- Choose the destination, either a subdomain such as staging.yoursite.com or a subdirectory like /stage.
- Tick password protect, then start the clone.
The tool copies files, clones the database into a new one, rewrites wp-config.php and updates the site URLs for you. You log in with the same credentials you already use.
Here is the detail almost no guide states plainly. cPanel ships two versions of that tool. WP Toolkit Lite is free and does not include cloning or staging at all. Cloning sits in WP Toolkit Deluxe, which is a paid licence for the host, not the customer. Many hosts license it server-wide, so it costs you nothing and simply appears. Others do not, and you will find no Staging tab anywhere. If yours is missing, ask support before assuming your account cannot do it. The cPanel WP Toolkit feature list shows where the line falls.
Softaculous offers a similar path if your site was installed through it: open the Installations list, click the staging icon beside your site, pick a location and let it copy.
One resource warning. A staging copy doubles your disk usage. A 500 MB site needs another 500 MB free, plus headroom for the copy process itself. On tight shared plans that is exactly when people meet the 508 Resource Limit Is Reached: Causes & Fixes (2026) wall, mid-clone, with a half-copied database.
Insider Insight: From the ticket queue: according to Hostaccent's support-queue data (August 2026), WordPress issues make up about 30% of the tickets we handle each month, with brute-force and malware cases at roughly 25%. A large slice of that first group is a live update that went wrong and had no clean copy to compare against.
Free Staging Plugins: What WP Staging and Duplicator Really Give You
If your panel has no staging button, a WordPress staging plugin is the next best option, and the free tiers genuinely work. What they mostly do not do is push your changes back to production. Knowing that before you start saves an unpleasant surprise at the end of a redesign.
WP Staging is the most direct. Install it, open WP Staging in the sidebar, click Create Staging Site, name the clone, then let it run. It copies the database, runs a search and replace on the URLs, then copies the files, showing progress at each stage. Defaults are fine for most sites. The free version clones happily. Pushing edits back to live sits on the paid Business tier, listed by the vendor at around $158/year.
Duplicator takes the other approach. It builds a package containing your files and database, and you install that package wherever you want it, which can be a subdomain, a subdirectory or a completely different server. There is no one-click push button, but the backup-and-restore mechanism gives you a controlled way to move a tested site onto production, and the free version does the core job.
All-in-One WP Migration works too: export your site to a single file, install fresh WordPress on a subdomain, then import. Simple, and it hits upload limits on larger sites.
Whichever you pick, exclude the junk. Cache folders, other plugins' backup archives and log files can triple your clone size for no benefit. Most cloning tools let you deselect them before starting.
There is a real trade-off with plugin cloning: it is heavy on disk I/O and PHP execution time, and it runs inside the same account as your live site. On a busy shared plan it can slow production while it works. If your site is large enough that this worries you, the underlying issue is capacity, and Best Hosting for High Traffic WordPress Sites in 2026 covers what to change.
Pro Tip: Run the clone during your quietest hours and keep the browser tab open. Several free cloning tools drive the process from the browser, so closing the tab halfway can leave you with a partial copy and a stray database.
The Manual Subdomain Method: Free, No Plugin, Full Control
The manual route takes about 30 minutes and needs no licence, no plugin and no premium tier. In our experience it is also the method that teaches you the most, because every step maps to something the automated tools were doing invisibly.
- Create the subdomain. Add staging.yoursite.com in your panel and issue an SSL certificate for it. DNS usually resolves within minutes on a modern setup, though propagation can take longer depending on TTL. If that part is fuzzy, how DNS resolves a subdomain explains the mechanics well.
- Copy the files. In File Manager, compress public_html into a zip, then extract it into the subdomain's folder. Over SSH, rsync does it faster and preserves permissions.
- Duplicate the database. Export the live database through phpMyAdmin, create a new empty database and user, then import the dump into it.
- Point the clone at its own database. Edit wp-config.php in the staging folder and update DB_NAME, DB_USER and DB_PASSWORD. Getting this wrong is the single most common cause of a white screen at this stage. Add
define('WP_ENVIRONMENT_TYPE', 'staging');while you are in there. - Rewrite the URLs properly. Never run a plain SQL find and replace across the database. WordPress stores widget and theme settings as serialised data, where every string carries its own character count, and a blind replace corrupts it. Use
wp search-replace 'https://yoursite.com' 'https://staging.yoursite.com', documented in the WP-CLI command reference. It unserialises safely. - Lock it down. Enable Settings, Reading, Discourage search engines, and add HTTP authentication on the subdomain.
- Flush permalinks by saving the permalink settings once.
Across the 4,000+ site migrations Hostaccent has completed since 2012, step 5 is where DIY copies fail most often, and the damage looks random: menus vanish, sliders empty out, theme options reset. It is not random at all, it is serialised data with the wrong byte counts.
If your clone throws a 500 after the copy, work through 500 Internal Server Error WordPress: Fix It Fast (2026) before assuming the copy failed. Nine times out of ten it is file permissions or a path in wp-config.
How to Push Staging to Live WordPress Without Losing Data
Pushing back is the risky half, and it deserves more caution than the clone did. A full database overwrite replaces everything on production, including the orders, comments, form entries and posts that arrived while you were working. On an active store, 40 minutes of testing can cost you 40 minutes of sales records.
Before any push, our engineers run the same three questions. Call it The Push-Back Test:
- Does this change live in files or in the database? Themes, plugins, CSS and code are files. Content, settings and orders are database. Files-only pushes are dramatically safer.
- Is production collecting data right now? If customers are ordering, subscribing or commenting, a full database push will destroy those records.
- Can I get back in one step? If the answer is not a backup taken minutes ago, stop and take one.
For most jobs, the safe workflow is files only:
- Take a full backup of the live site, files and database, immediately before you start.
- Copy only the changed directories: your theme folder, the updated plugin folders, any custom code.
- Leave the live database untouched.
- Resave permalinks, then clear every cache layer you run.
- Smoke test the paths that make money: homepage, a product page, add to cart, checkout, contact form, login.
When settings genuinely must move (new custom field definitions, a page builder's global settings), identify the specific tables involved and move only those. Merging two active databases automatically is not a solved problem in WordPress, whatever any tool's marketing implies. Selective, deliberate moves beat one-click confidence.
Timing matters more than people expect. We found that pushes scheduled for the quietest hour of the week produce far fewer "where did that order go" tickets than mid-afternoon deploys, simply because fewer records are being written during the window. Also check your plugin licences: several bind activation to a domain, so the staging copy may show them as inactive, and a careless push can carry that state onto production.
If deployments are becoming a weekly habit, the bottleneck usually becomes your server rather than your process, which is where Nginx + PHP-FPM Performance Tuning on Linux VPS starts to matter.
Staging Mistakes That Quietly Break Live Sites
Most staging damage is not dramatic. It is quiet, and you find it weeks later. These are the ones that recur in the tickets we handle, roughly in order of how often they bite:
Letting Google index the clone. An unprotected staging copy is duplicate content with your exact wording. It can rank, split your signals and confuse crawlers. Password protection plus the noindex setting, both, every time.
Leaving email enabled. This one hurts. Test orders on a clone fire real transactional emails to real customers, including order confirmations for purchases nobody made. Install a mail-disabling plugin on staging before you touch anything else.
Forgetting WP-Cron. Two copies of a site means two schedulers running the same jobs. Newsletters go out twice. Add define('DISABLE_WP_CRON', true); to the staging wp-config.
Payment gateways in live mode. Switch every gateway on the clone to sandbox or test keys the moment it exists. A real card charge from a test checkout is a refund, an apology and a lost customer.
Stale staging. Refresh from production at the start of each work cycle. Testing against a three-month-old copy tells you how your site behaved in May, not August.
Ignoring disk quota. Every clone doubles your footprint, and old abandoned staging copies stack up. Delete them when you are finished.
Assuming staging equals live. If your clone sits on the same account, it shares CPU and memory with production. That is fine for functional testing and misleading for performance testing. Load-test results from a shared account tell you very little, which is one reason growing sites move to Best VPS for WordPress in 2026: Specs That Actually Matter.
Pro Tip: Keep a five-line deployment checklist in a text file next to your site notes: backup taken, files copied, permalinks resaved, caches cleared, checkout tested. Boring beats clever when real money is involved.
Your Next Step: Update Without Holding Your Breath
Now that you know how to create a staging site WordPress can push changes back from safely, the only question left is where that clone lives. You can wire up subdomains, databases and WP-CLI yourself every time, or start on a setup where the staging tooling, the backups and the SSL are already waiting when you log in. That is the whole idea behind Hostaccent's WordPress plans: a UK-registered host trading since 2012 and incorporated in 2018, with 10,000+ sites launched, a 99.9% uptime guarantee and engineers who actually read your ticket. You can start on the Basic plan at Basic — $22.99/yr, which renews at the same $22.99/yr. One honest caveat: Basic is sized for a single site, so if you are running client projects, size up. Either way, there is a 30-day money-back guarantee.
Frequently Asked Questions About WordPress Staging Sites
How to create a staging site WordPress beginners can manage without a developer?
Use your hosting control panel if it offers staging, since it handles the database rewrite for you in about 2 minutes. If there is no staging button, install a free cloning plugin, click Create Staging Site and accept the defaults. Both routes avoid the two steps that need technical care: editing wp-config.php and running a safe URL search and replace across serialised data.
Does a staging site slow down my live website?
It can, in two ways. The clone occupies disk space, doubling your site's footprint, and if it sits on the same hosting account it shares CPU, memory and PHP processes with production. The clone process itself is the heaviest moment, which is why off-peak timing helps. Once created, an idle staging copy uses almost no resources. Delete copies you have finished with.
Will Google index my WordPress staging site?
It will if you let it, and that creates duplicate content competing with your real pages. Two protections, used together: enable the Discourage search engines setting under Settings, Reading, and put HTTP authentication on the staging subdomain so nothing reaches it without a password. The password matters most, because the discourage setting is only a request that crawlers may ignore. Never rely on obscurity alone.
Can I push a WooCommerce staging site to live without losing orders?
Yes, if you push files only. Copy the changed theme and plugin folders and leave the live database alone, because that is where orders, customers and coupons live. A full database push overwrites every order placed since you cloned. If a settings change must move, migrate only the specific tables involved, take a backup minutes beforehand, and deploy during your quietest hour.
How often should I refresh my staging environment?
Re-clone at the start of every work cycle rather than on a calendar schedule. A copy is accurate the moment it is made and drifts constantly afterwards as posts, orders and plugin updates land on production. Testing against a copy from six weeks ago produces false results, both false alarms and false all-clears. For sites updated weekly, weekly refreshes are sensible. For quiet brochure sites, clone on demand.
Is a staging site the same as a backup?
No, and treating them as interchangeable is how people lose data. A staging copy is a testing environment with no restore mechanism and no version history. A backup is a dated, restorable archive stored separately from your live files. When a site is compromised or a push goes wrong, the Hostaccent team restores from backups, never from a clone. Run both, and check your restores work.
If your site is still growing into this workflow, Best WordPress Hosting for Small Business in 2026 covers what to look for as your testing needs get heavier.


Discussion
Have a question or tip about this topic? Share it below — your comment will appear after review.